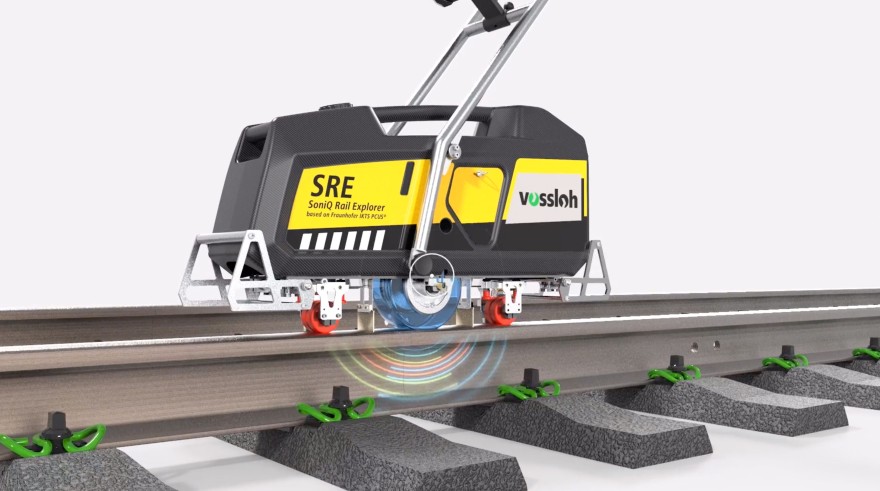
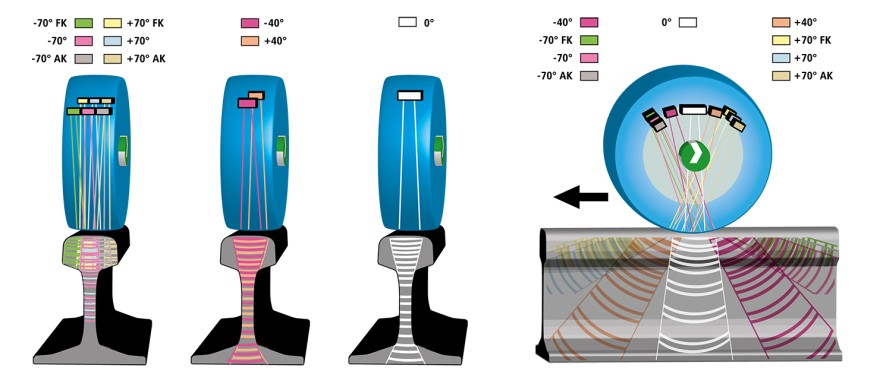
With its powerful modular ultrasonic testing electronics, the SRE is used to detect internal, operations-related irregularities in the rail. The SRE exploits all the digital possibilities – from data collection to analysis of the raw data – and allows the findings to be incorporated into companies’ process chains. In this way, the SRE contributes to transparent data collection and analysis. Every round of inspections
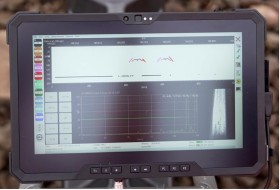
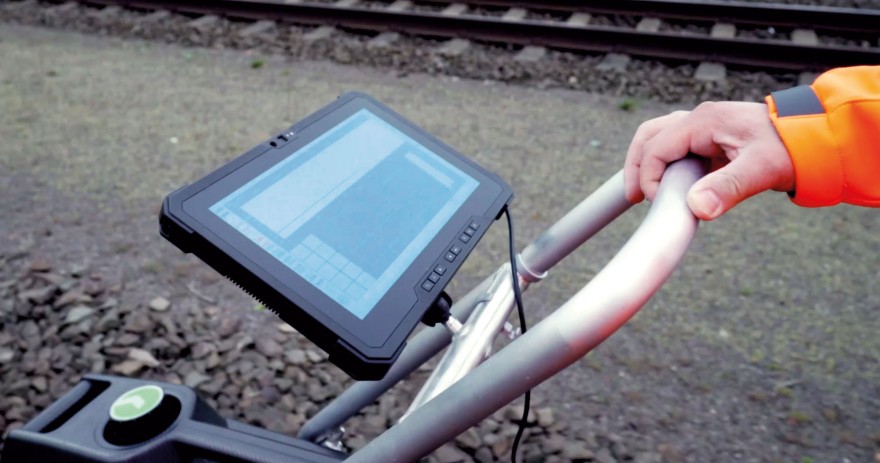
Control, data collection and analysis are all handled by the same software, which gives the inspector numerous options when processing the data. The inspection data collected on the entire inspected area are visualized using both A-scans and B-scans with configurable thresholds and as a volumetric image. The threshold value can be edited later in the amplitude-based volumetric view, which provides even more revealing information on the reflectors and their dynamic.

+ Test probes, each visualized separately
+ Synchronized A-scan und B-scan images
+ A-view selection for each test probe
+ Synchronized camera image
For the first time ever, a recorded visual image and an Augmented Reality (AR) display of the findings are integrated into ultrasonic testing equipment with A-scans and B-scans. With its optional camera, the SRE provides seamless photo documentation of the rail’s running surface. Each photo corresponds with the inspection software and its location is matched up exactly to the respective inspection points. The location information which is entered manually – the route or switch designations, hectometers and route markers – is supplemented with the data from the integrated distance counter and the GPS coordinates and linked to the ultrasonic inspection data.
With the aid of a Microsoft HoloLens, the inspector can use the optional AR function to display the indicators recorded by the SRE as a tomographic hologram in a spatially accurate 3D volumetric image. Intelligently integrating ultrasonic inspection equipment with the actual infrastructure enables easier classification of the data and makes it easier to interpret and intuitively evaluate the inspection results.


